GUEST POST | Hi everyone, we are The Grumpy Olive, a sister trio writing about all the things we love from food, coffee, books and the odd beauty bit here and there. Today, we come to you with a Birthday Sprinkles Layered Cake.
When we applied for a guest post with Kayleigh, we never thought we’d actually be picked, but we decided to push for this little cake we made for Fred’s big 30th birthday.

The one thing we have been missing through all this lockdown – apart from our mummy & daddy and the rest of the family back home in Italy – is travelling. Our favourite place to go to has been New York, where we discovered Milk Bar.
Now, if you are not familiar, Milk Bar is heaven for a sweet tooth like the three of us are: it’s cookies, layered cakes, truffles and coffee, all from the wonderful mind of Christina Tosi and the team behind Momofuku.
Their cakes are big – like, really BIG – and full of flavours. Fred, who happens to be a huge fan of their birthday cake truffles, had only one request when we asked her how she wanted to celebrate her 30th birthday in lockdown: a birthday sprinkles layered cake, à la Milk Bar.
Because the recipe we had from Christina Tosi is lengthy and made of quite a few different steps, we decided to go with an alternative sponge recipe altogether and let me tell you, it did not disappoint. It was moist, sweet and just perfect, full of flavours and colours.
But before I start mumbling a lot more than I already am, straight from our kitchen to yours, with plenty of love, it’s here.
The Birthday Sprinkles Layered Cake of dreams
The Ingredients
For the sponges:
- 400g plain flour
- 1 ¼ teaspoons baking powder
- 2 ½ teaspoons bicarbonate of soda
- 1 teaspoon salt
- 350g caster sugar
- 3 large eggs
- 135ml sunflower oil
- 285ml buttermilk {see note*}
- 1 tablespoon vanilla paste
- 240ml hot water
- 250g rainbow sprinkles
{*buttermilk: if you don’t have any available or couldn’t find any at the supermarket, just mix 285ml of milk with 2-3 tablespoons of lemon juice and set aside for 5 minutes, or until it starts to curdle!}
For the buttercream:
- 250g unsalted butter
- 450g icing sugar
- 1 teaspoon vanilla paste
- 1 tablespoon double cream
To Decorate:
We have used some sprinkles we have found online on Amazon, but it is really up to you.
The Process
Start with preheating the oven to 180°C. Line your three round tins with baking paper and set aside. We used 3 x 18cm springform tins and divided the batter equally using a scale and ladle.
Prepare your dry ingredients: mix the flour, baking powder, bicarbonate of soda, salt and sugar in a large bowl. Create a well in the middle and add the eggs, oil, buttermilk and vanilla paste, then whisk until everything is properly combined, and to finish, fold in the sprinkles with a spatula so they are evenly distributed.
Now pour the hot water and whisk briefly to mix – please do not be weirded out if it looks very thin, it’s meant to be like this!
Grab your scale, ladle and prepped tins and start pouring to divide the batter equally in the three tins. If you are using the same tins, tare one out on the scale and move them around, if you are using different ones, simply tare each one and weight the batter equally on each one of them.
Bake for 40-45 minutes, or until a skewer inserted into the middle comes out completely clean. Leave it to cool in the tin for 30 minutes, then move onto a cooling rack and cool completely.
These can be prepared ahead of time, 1 or two days before assembling, just wrap them in cling film and place in the fridge. I had left ours covered overnight in our kitchen – this room tends to be quite cool through the day – and they were still super moist in the morning when we assembled.
On the day you’ll assemble the cake, you will start by making the buttercream: in a big bowl, beat the butter until it breaks down and starts becoming creamy and soft, then gradually add the icing sugar until everything is combined. You will have a nice, smooth frosting and at this point, you are able to add the vanilla paste and cream – this latter one is only if needed, depending on the consistency you might need more than 1 tablespoon of cream or none at all, just check it before you add.
The Assembling and Decorating Phase
We bought a cake turntable for the occasion – you need to know that any occasion for me to buy something is a good occasion – and, with the help of Cristina, we started building up the cake.
We placed the first sponge and made sure it was completely levelled – any extra cake top we cut off and ate on the spot because we are terrible people – then we added a good amount of buttercream and spread it using a flat spatula. We repeated this for the next layer and then, to make sure the top is actually flat, we have turned the sponge upside-down so that the flat bottom is now the very smooth top of your cake.
We covered the top of the cake with a layer of buttercream, then went for some sort of naked-style cake to the sides, and smoothed everything out using a plastic smoother.
To decorate, we created a line using a knife and draw a moon crescent from top to bottom, and decorated using some chocolate and malt balls we have purchased online.
Once the decoration is completed, the birthday sprinkles layered cake – or better, the buttercream! – will need to rest in the fridge for at least 3 hours, and you will need to remove it from the fridge an hour or two before serving so that the sponge can get back to room temperature.
Fred was absolutely elated with this cake, and Cristina and I were so happy to have given this a shot – not even going to lie, Cristina thinks this is a great business idea for The Grumpy Olive to evolve into, I am a bit more reserved on it – as this was our first-ever layered cake attempt.
We enjoyed this Birthday Sprinkles layered cake in front of family members on FaceTime and Zoom while singing happy birthday to this middle sister of ours, and everyone has already asked for a version of it when we eventually make it back home, once this pandemic is over. At least we know we have a request should we ever decide to move back home!
And, before I forget, this cake will last for up to three days in the fridge, make sure you cover it with some cling film so that it does not soak up any smells from it – we’re guilty of having half-cut onions laying around, so you definitely don’t want the cake tasting and smelling like an onion – but I am almost sure it won’t make it to day three, because it did not last that long in our household! Should you require, it can be frozen for up to three months and needs to be fully defrosted before eating.
Before I leave you, let me give you a couple of tricks so that your cake is just perfect:
- You do not need any fancy cutting contraption, just a few toothpicks and floss will do the same: make sure the toothpicks are aligned fully and then, using your floss, just cut through the cake using them as your guide!
- I know this sounds mad, but levelling the cake layers is the way forward here: no leaning towers of Pisa, only perfect straight cakes, and the way to do this is using…a spirit level, possibly not your dad’s one.
And lastly, we want to thank Kayleigh again for this opportunity and if you enjoyed this post, why not follow us on Instagram?
If you enjoyed this why not check out The Grumpy Olive’s Pistachio & Chocolate Tea Leaf Loaf.
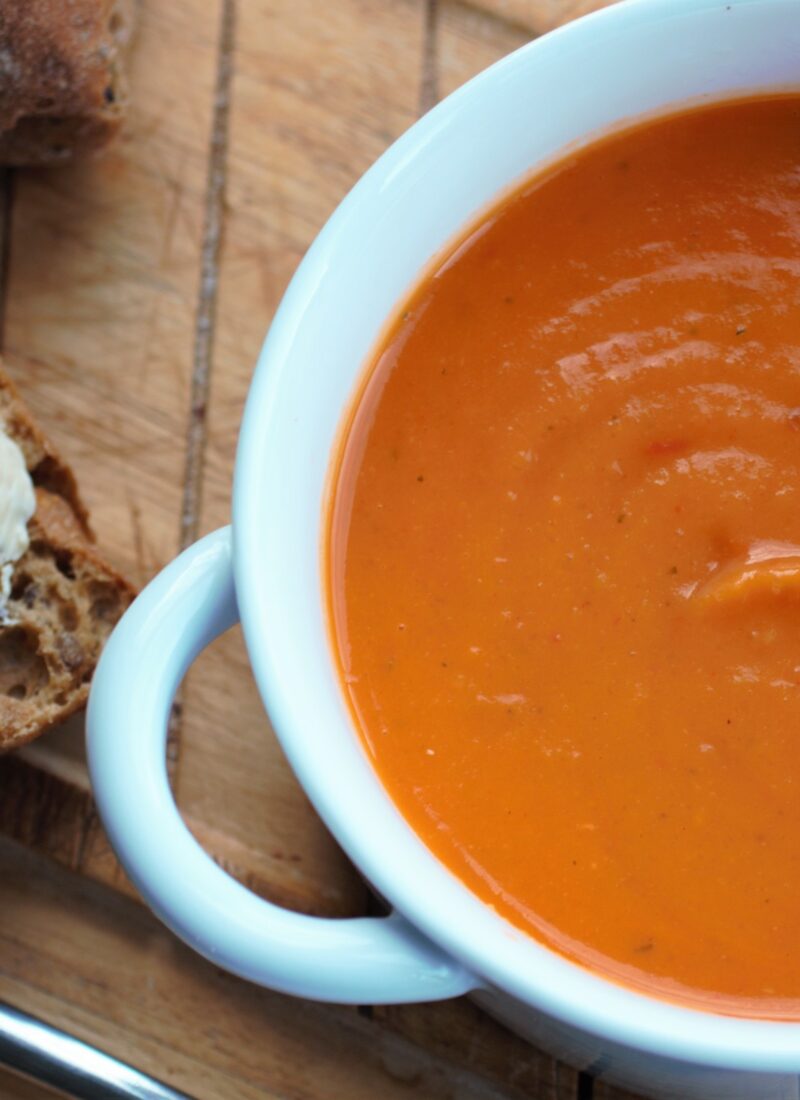
If you enjoyed this check out my delicious creamy tomato and butternut soup recipe or 6 Pancake Recipes To Try and sign up to my mailing list below!


Wow this cake looks amazing and I’m sure it tastes even better. I haven’t baked a cake in such a long time. It’s my mom’s birthday next week so I might give this recipe a go.
Antonia || Sweet Passions
Oh would you look at that… Another day where I am craving cake for breakfast!!
What an incredible cake, I love the design on the top. I am a rubbish baker but my crowning glory was an incredible rainbow layer cake for a work bake off. 6 years later and I am still gutted we came 2nd!
This cake looks divine. My partner is a Baker so I normally shy away from that side of things, but I think I’ll give this one a go
This looks so good! I love the decorations. I’m going to try to attempt some baking this weekend!
Rosie
That cakes looks so pretty! I love the decoration, simple yet effective. I’m going to have to steal that idea as I struggle when it comes to decorating cakes. I’m also pretty sure this cake tastes just as good as it looks – it’s now got me craving cake for breakfast haha!
Amazing looking cake, I want a slice! Fab recipe and post – I love Grumpy Olive’s blog xx
Thank you so so much for the opportunity Kayleigh! We had a lot of fun writing this! Hope you all get to try the cake and let us know if you like it x
The cake looks delicious! I will have to show my hubby this as it is my birthday next week lol!
This looks fab! Definitely need to try out this recipe, I want cake now haha 🙂
This cake has my stomach grumbling haha. Unfortunately a few of those ingredients aren’t on hand, but I’ll certainly bookmark this recipe for future use. Thanks for sharing, this delicious recipe!
Wow, this cake sounds gorgeous and really sweet. It looks so easy to make, so I’ll definitely give this a go 😁
Wow! This looks so good! The last time I tried to make a layered cake it was the definitely the leaning tower of Pisa and the layers slowly slid off. I never would have considered using a spirit level. Brilliant!!
This cake looks so delicious and I would love a slice of this right now! x
Lucy | http://www.lucymary.co.uk
It looks so delicious !!
Miki x
https://www.littletasteofbeauty.com/
I’ve not heard of Milk Bar before, but this looks incredible! I love baking and definitely need to add this to my list of things to bake!xx
Hannah | https://luxuryblush.co.uk/
omg this looks divine! I literally want to eat it off my browser lmao x
Yep so I’ll be making this at some point! Looks incredible!
Oh my god, this looks friggin amazing!!!!
This recipe sounds amazing. I may make it for my birthday. Thank you for sharing.